Setting up MailChimp for email marketing
Originally posted 11/2019. Updated 10/2025.
Setting up a MailChimp account for email marketing is simple, but like with anything, if you aren’t familiar with it, it can seem overwhelming.
This post will take you through each step for setting up your MailChimp account, so you can send out newsletters like a pro!
Not sure your website needs a newsletter? Visit my post Why you should consider having a newsletter.

Let’s get started
First, open a new tab and head over to Mailchimp.com
On the far right, click on “Sign-up Free”, you’ll be taken to a page where you can sign up for a free account.

Once you fill out the form, you’ll be signed in and ready to start sending out your newsletter.
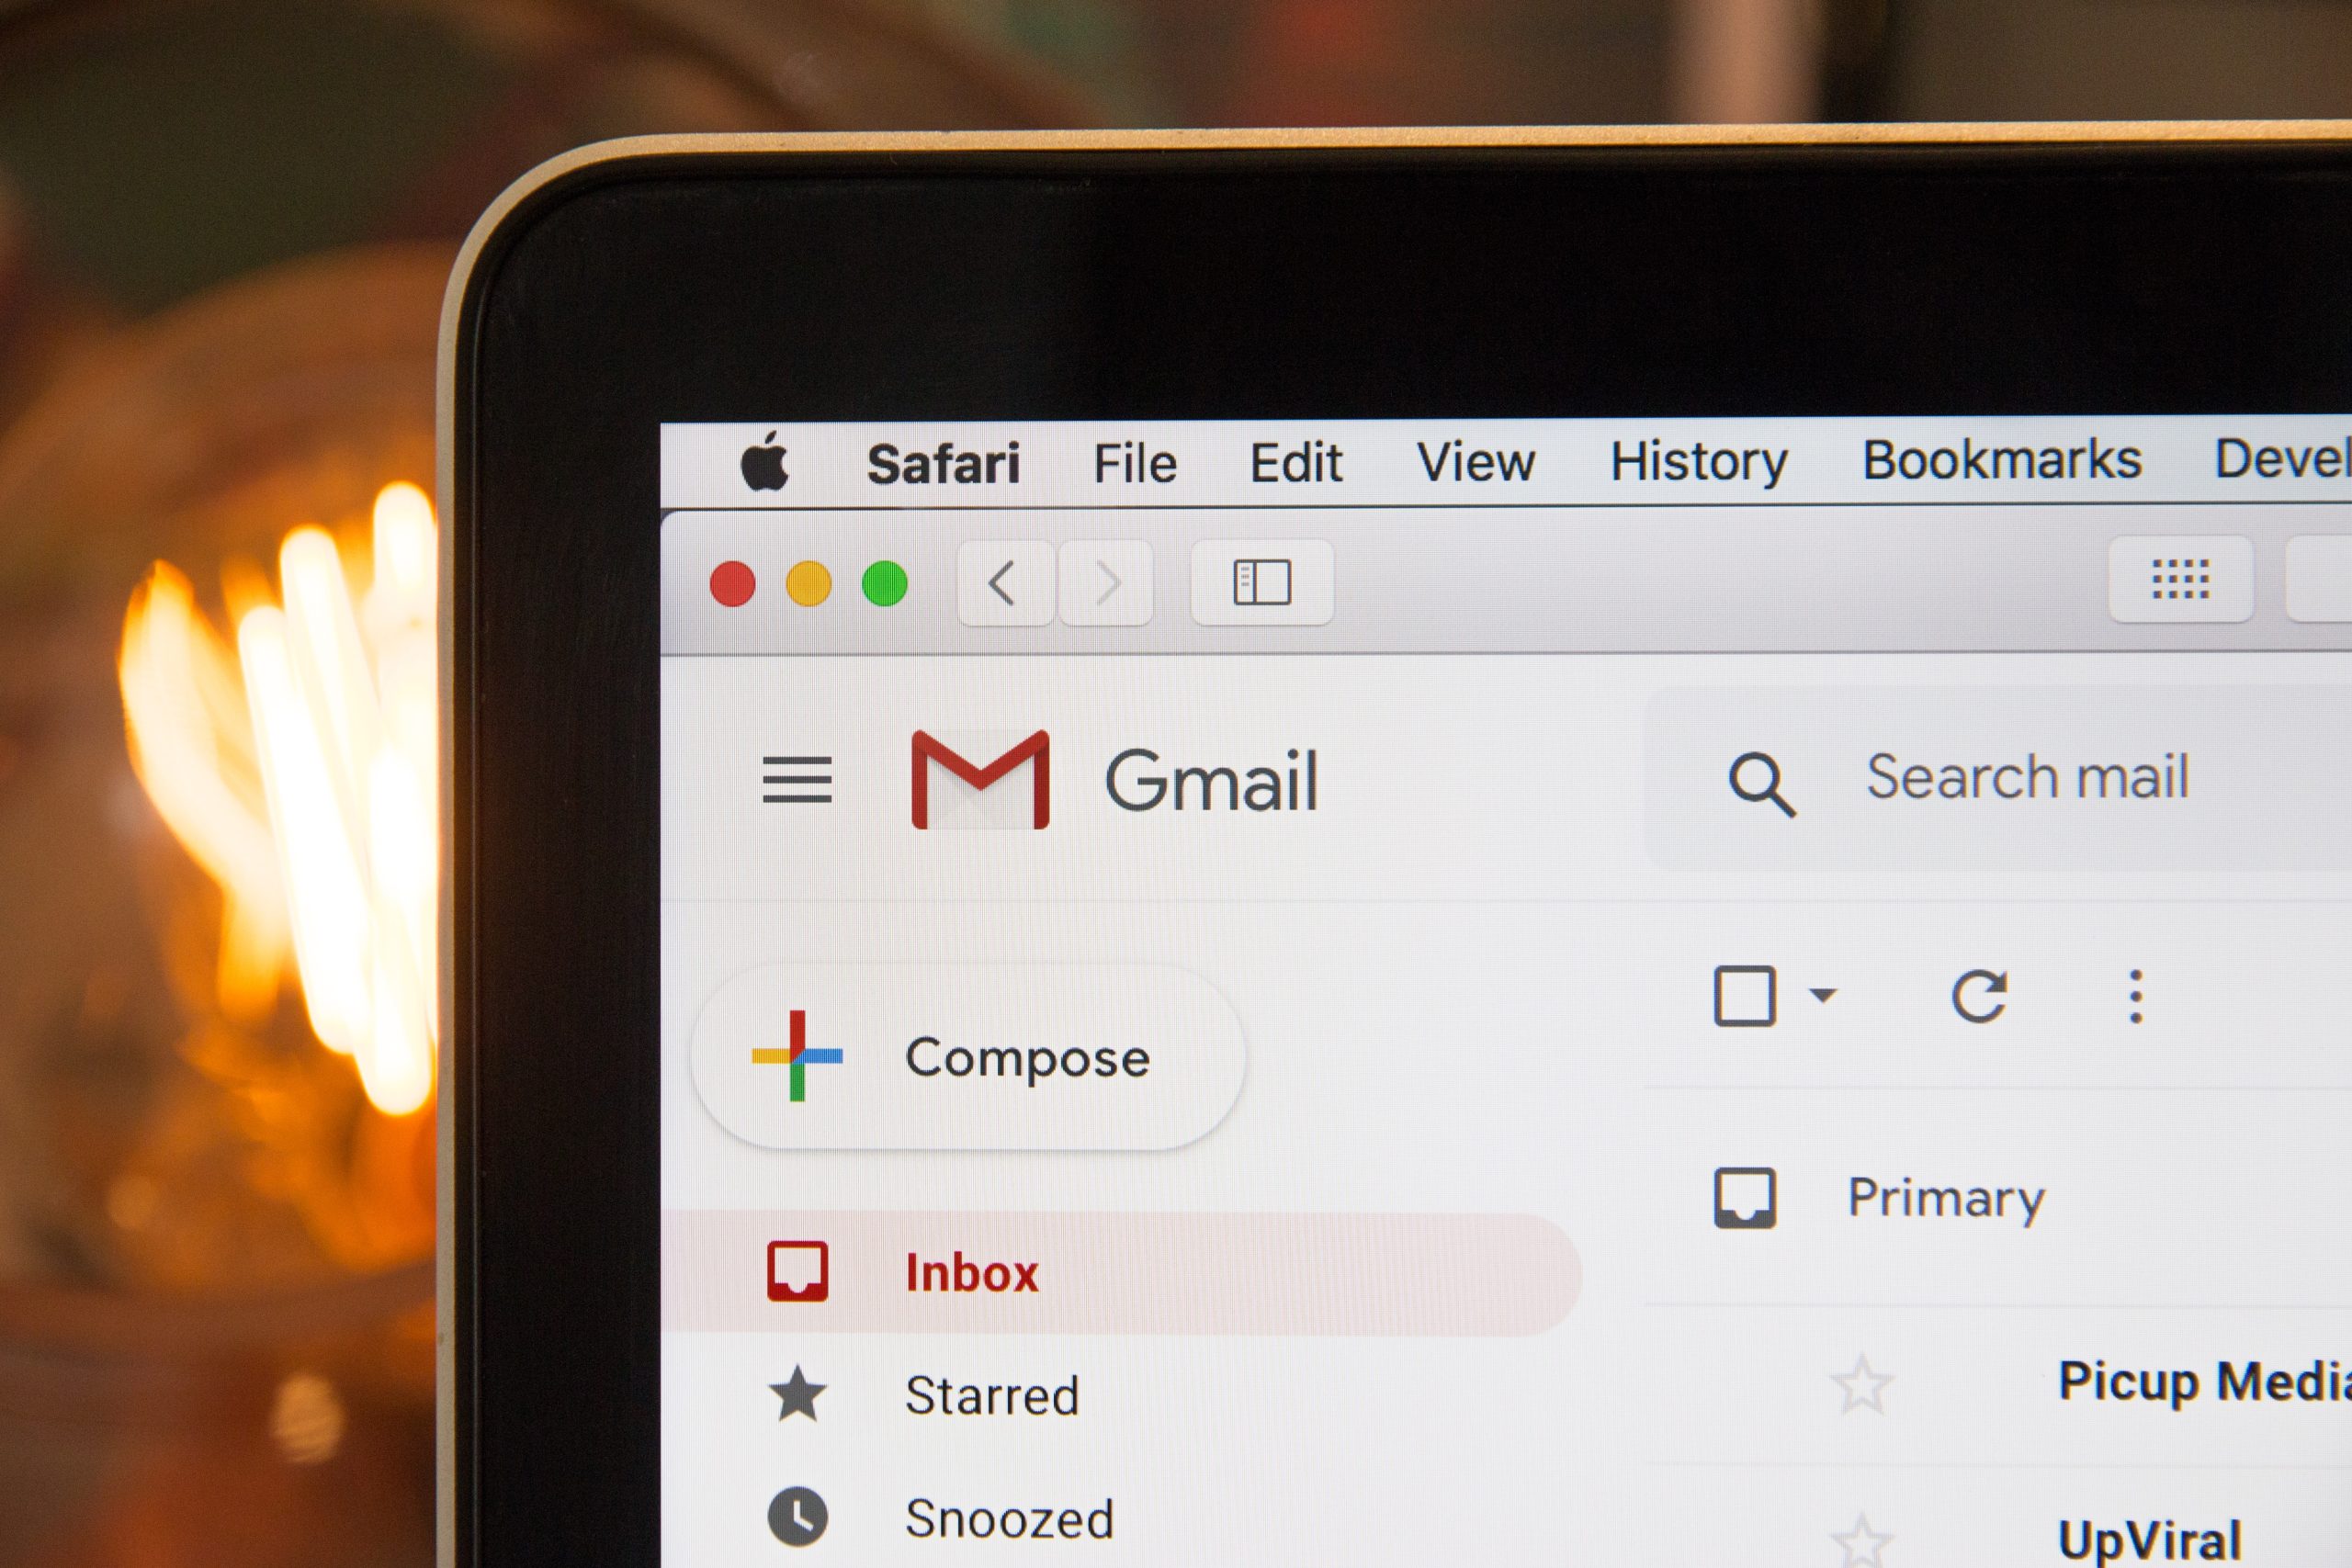
On the top left-hand side of the page, click on “Audience”. This is where names and emails for those who signed up for your newsletter are stored.
Click on “Create Audience” and fill out the form. Note that your audience will be able to see what you’ve named your audience list, so be sure to use your business name or something recognizable to your sign-ups. For example, my audience list is “Whitney Stokes Web Design”
Sign-up forms
To get sign-ups, you’ll need to place a sign-up form on your website.
On the audience page, click on the button that says “Manage Audience”
A dropdown will appear, and you’ll see an option that says “Sign up forms.” Click on it.

The page will look like the photo above. From here, you can make a form that you can place on any page of your website. You can also create pop-up forms and embedded forms.
I like to use embedded forms and pop-up forms, simply because they are clean and simple to set up.
This is what it can look like:
Setting up an embedded form
An embedded form is so nice because you can place it anywhere on your site. As a footer widget, a sidebar widget or on any page.
To get a usable link for your embedded form click on “Embedded Forms” on the list shown in the image above.
It’ll take you to a page which looks like the image below:

From there, click on the different styles. Classic, Condensed, Horizontal or Unstyled. Choose which style matches your website. I like Horizontal.
After you choose your form and customize the form title copy the HTML that’s found in the “Copy/Paste onto your site” box.
If you’re using WordPress use the Custom HTML block on any page or blog post to paste this code.
If you’re using Blogger click on HTML on the far left corner of your post page and paste the code anywhere on the page. Usually, the bottom of the page is ideal.
If you’re using Weebly drag the Embed code block onto your page, click on the block and click “Edit Custom HTML” paste the code.
Be sure to preview and adjust as needed.
Setting up a pop-up form
This is a little more complicated than setting up an embedded form, but it can be beneficial to have on your site.
Usually, pop up forms are used to offer discount codes or something special for your visitors in exchange for signing up for your newsletter.
Since they pop up on your home page, they are usually one of the first things visitors see.
To set up the pop-up form, you’ll need to click on your profile at the top right of the MailChimp page. When you click on it a drop-down will appear. Click on “Connected sites”. From here click on your website platform. You’ll enter your website’s URL, select an audience to connect and get your code.
If you’re using WordPress.org you’ll copy the code > in a new tab, log into your WordPress admin panel > click on Appearance > click on Theme Editor.
Once you’re in the theme editor click on header.php
Look for the opening <head> tag and paste the code right above it. Hit update at the bottom of the page and go back to the MailChimp tab.
Click check connection. Your website should be connected.
Click on the Audience button at the top of the page, follow the instructions at the beginning of this post to get to the sign-up forms page. From there click on “Subscriber Pop-up”
From there you should see a preview of your website with a newsletter pop up on the screen.
Customize this pop up however you’d like using the editor on the right side. When you’re done hit “Publish”
Creating an automated “Welcome” newsletter
An automated welcome newsletter will greet your audience while you’re busy working on your business.
On the top, left-hand side of the Mailchimp site click on “Campaigns” then click “Create Campaign” a box will pop up, click on “Email” > “Automated” > “Welcome new subscribers”.
Name your welcome email (your subscribers will not see the name)
You’ll be taken to a newsletter editing screen.
See photo below as an example:

From here click on each of the options. Edit the top three options as you wish.
When you come to the “Edit Design” option, you’ll be taken to a new page with theme options. Click on the theme you want to use.

You’ll be taken to an editor. Now it’s time to bring your first newsletter to life.
You can delete, edit, copy, or move anything in the newsletter by hovering over it. Add new blocks, your logo, custom photos, Social buttons, etc..
Once you have it customized, click “Save and Continue” Then click on “Start Sending” and your automated email will be sent every time someone joins your newsletter!
Creating a normal newsletter is the same as the instructions at the beginning of this section. You’ll just select “Regular” instead of “Automated”.
I hope this tutorial was helpful. If you have any questions feel free to comment below or contact me!